Nook | We're Making Loans Simple

Login
New Nook Logo - We're Making Loans Simple
  • Your Loans

    Choose the best loan type you can have for your needs.

    Know which type of housing loan you need to manage your finances.

    Need to buy something? Continue studying? Or going somewhere else?

    Other Links

    Get Pre-Qualified

    Find out if you qualify for a loan in just 3 minutes.

    Mortgage Brokering

    We help you with your loan transaction at no cost to you.

    Book Consultation Call

    Get expert advices from our loan consultants for free.

    Loan Calculators

    Check your financial capacity now.

  • Partners

    Join the many who made the best decision in providing their clients with the best home loan journey available in the country.

    Banking Partners

    Some of the biggest banks in the Philippines with the goal of making home loans simple.

    Strategic and Partner Developers

    In coordination with top developers, realty and service providers for B2B connections.

    Retail Partners

    Get discounts and exclusive deals during your home loan journey from these retails shops.

    Affiliate Program

    Refer your friends and family to become an affiliate and receive commission plus discounts for every successful referrals.

    Nook Home Loans - Affiliate Army
  • Latest News

  • About

    Know more about the Philippines' first mortgage broker, how we do it and why only we can do it.

    Nook App

    Transact more faster with your Nook loan consultant on our app.

    Our Process

    Processing your loan application can be done with our four simple steps.

    About Us

    Why we are the first and the only mortgage broker in the country.

    Careers

    Join the Mortgage Brokering Industry Pioneer, Nook.

    Contact Us

    Chat to us now from our website and talk to a Live Agent.

    Help Center

    Tutorials and How-to guides when using Nook's technology.

How to Effectively Photograph Documents for Loan Requirements?

How to Effectively Photograph Documents for Loan Requirements?

Cy M – March 19, 2022

Scanning documents nowadays has been made easy with the use of smartphones. No need for scanners to create digital images of these documents, all you need is the camera from your smartphone and snap. As easy and quick it seems, how can we make it more readable and presentable for its purpose?

In this short article, we will give you simple and easy tips on how you can also edit your images before submitting them.

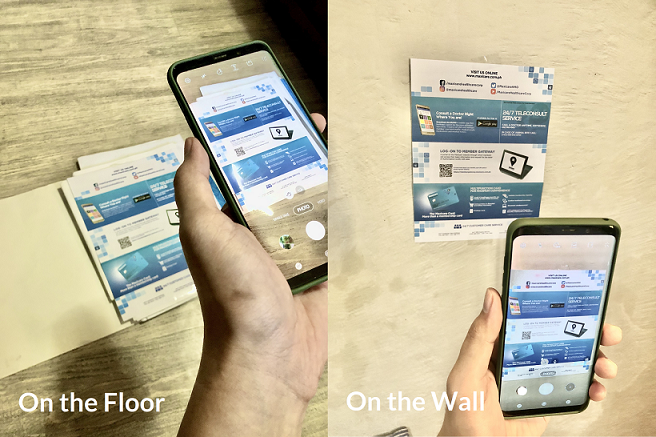
1. Ensure they are laid on a flat surface

- Place the document on a flat surface like a table, or the floor.
- If the light is being blocked above the document and a shadow is appearing, you can temporarily tape the document on a wall.

How To Effectively Photographing Documents For Loan Requirements 1

2. Create Effective Lighting

- Having enough background lighting is essential.
- For better lighting, angling two lights at an off position at around a 45-degree angle from the camera enable the lights to not directly bounce off the page and create distortions.

How To Effectively Photographing Documents For Loan Requirements 2

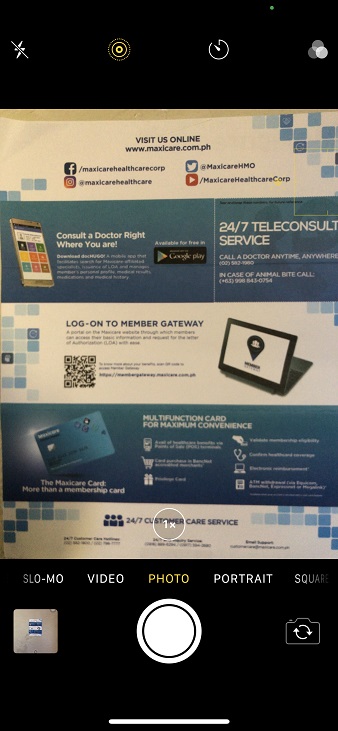
3. Ensure an Equal Camera/Document Height

- The camera and document need to be at the same height so that the document will appear straight at the edges, without any distortions
- On the other hand, you can always edit the images and crop it up to the edge of the document.

How To Effectively Photographing Documents For Loan Requirements 3

4. Photography Angles

- For obvious reasons, Head-On is the only angle you want to be using – in most cases. This point goes back to the importance of having the camera set up at the same height or level as the document.

How To Effectively Photographing Documents For Loan Requirements 4

5. Zoom from a Distance to Avoid Issues

- Zooming in from a distance, instead of standing too close to the documents, reduces something called the ‘Fish Eye Effect’. The fish eye effect is when you get a blurred circle around the edge of the image.

Zooming In And Out Gif 2

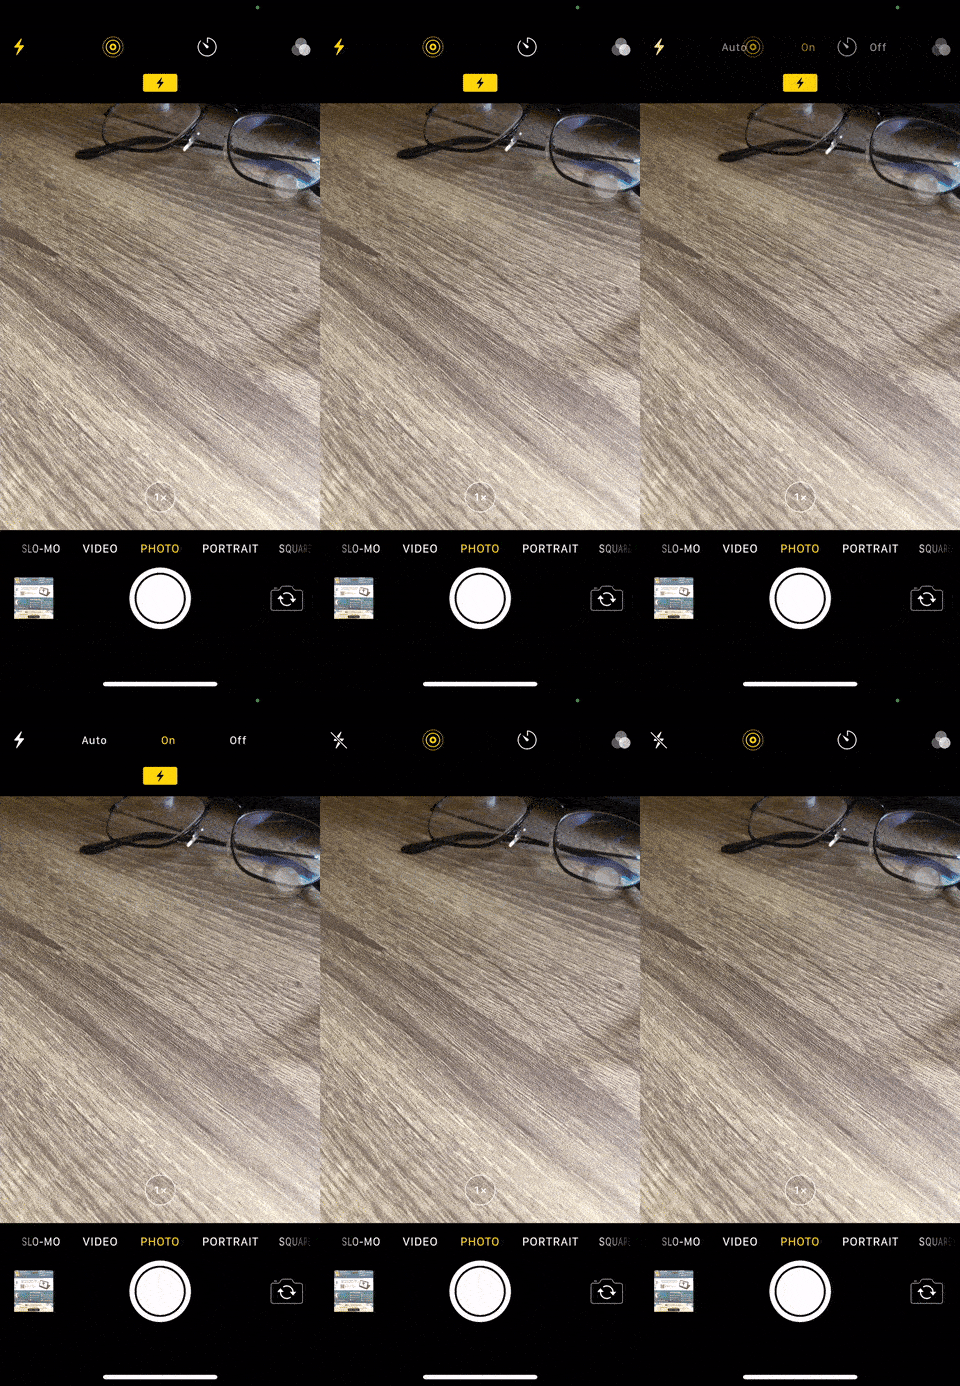
6. Turn off the Flash

- Leaving the flash On will leave a spot of light in the center of the document or produce far too much glare when not done under the right conditions.

Flash On And Off Gif 2

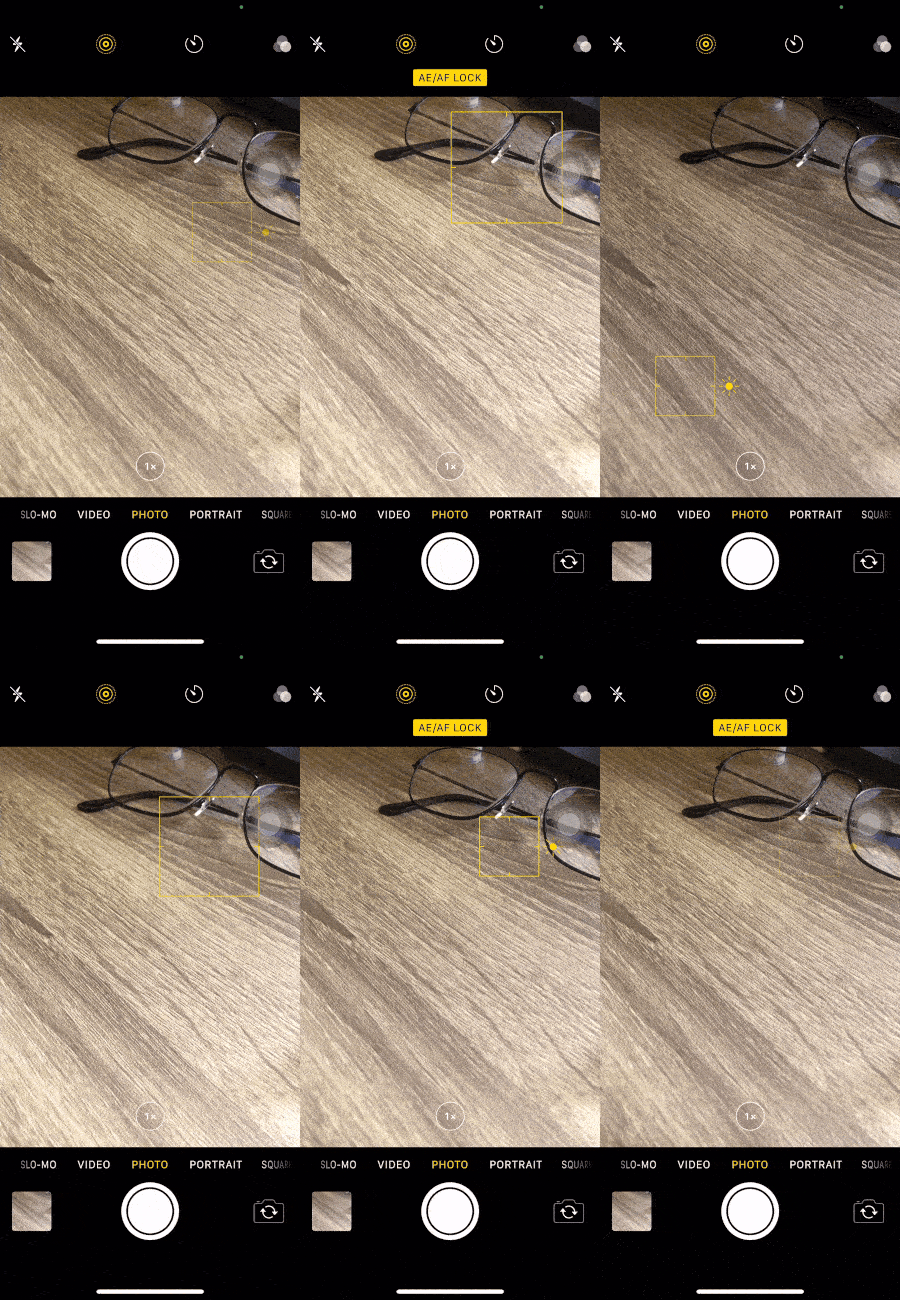
7. Settings: Focus

- Auto-focus, in this case, is going to be the best choice. But for most smartphones now, you can long tap the part of the image to stabilize and focus the lens on it.

Auto Focus Gif 2

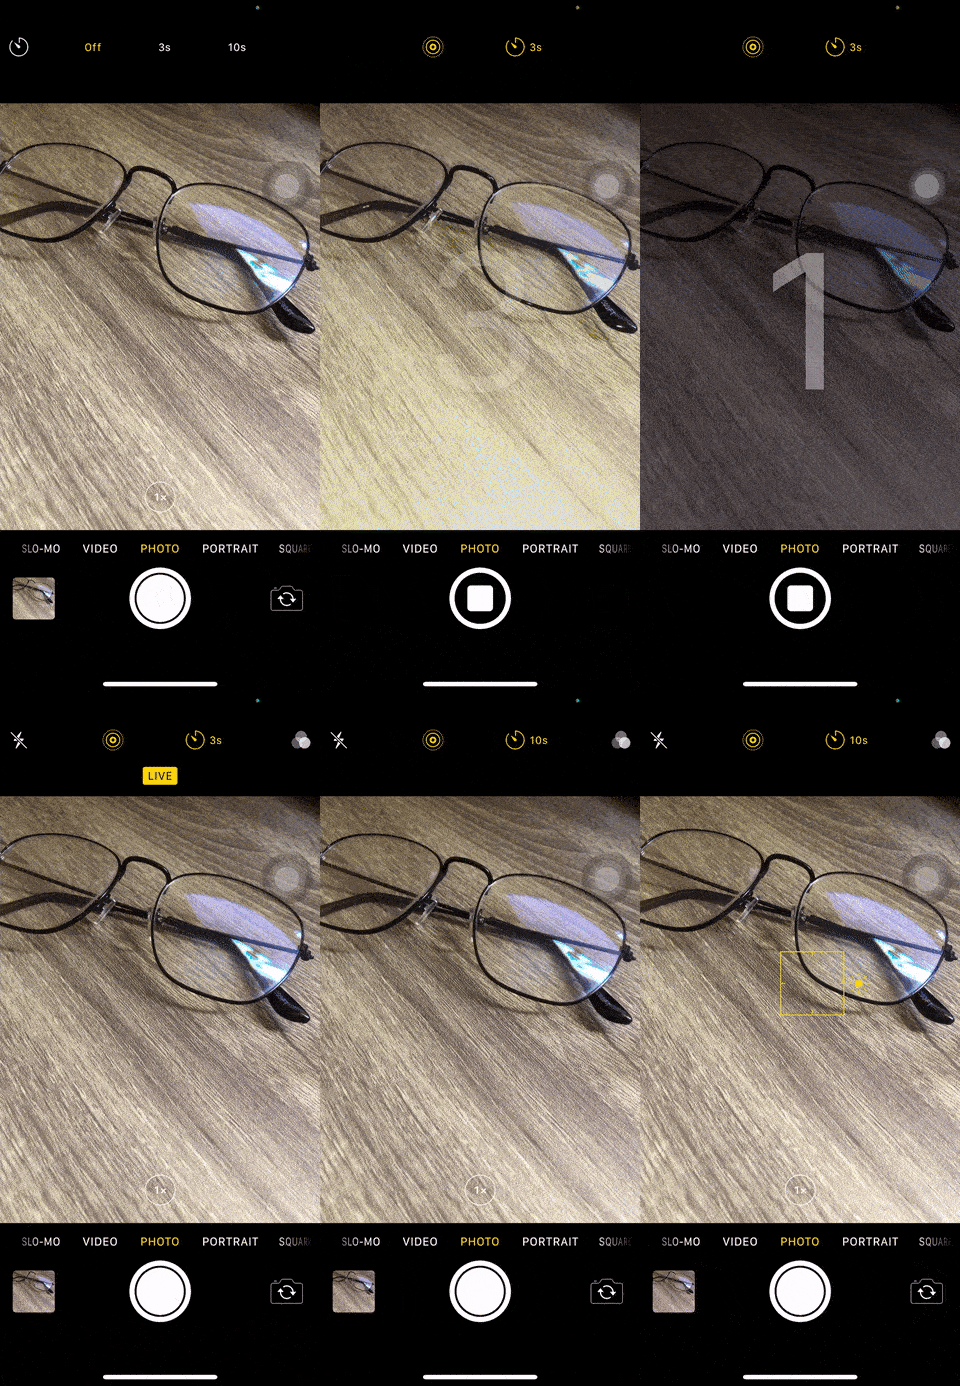
8. Timer Vs Manual

- Using the timer avoids possible distortions that can arise from pressing the button manually, which might make the camera shake slightly.

Camera Timer Gif 2

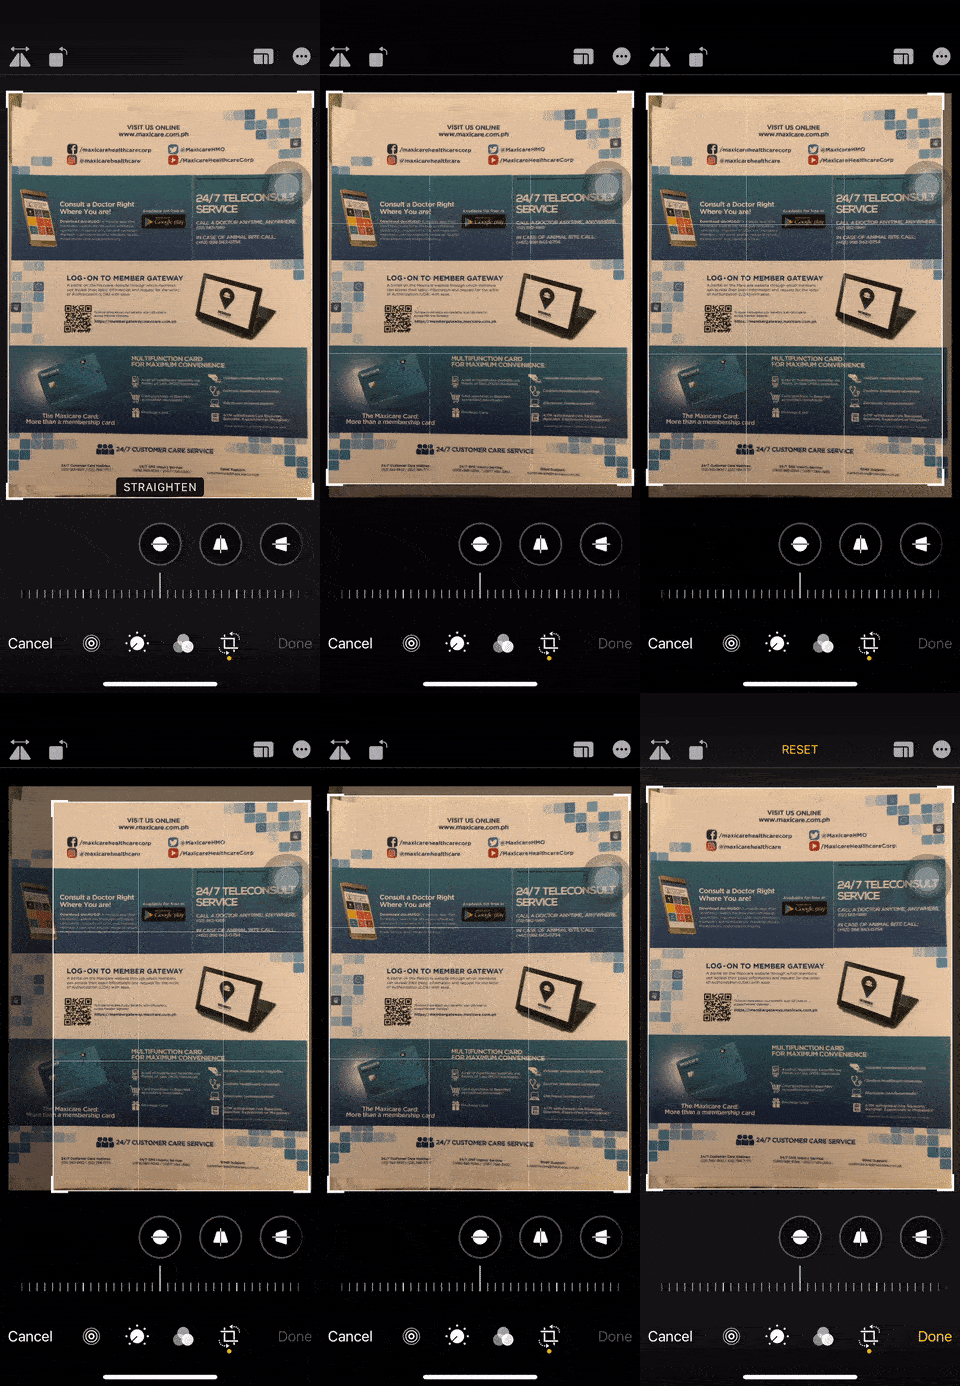
9. Editing: Crop

- As mentioned in item 3, you shouldn’t need this step if you used correct distancing, zoom and the landscape view. However, you can always use the manual crop function on your smartphone when editing to get that perfectly edged shape of your document.

Photo Cropping Gif 2

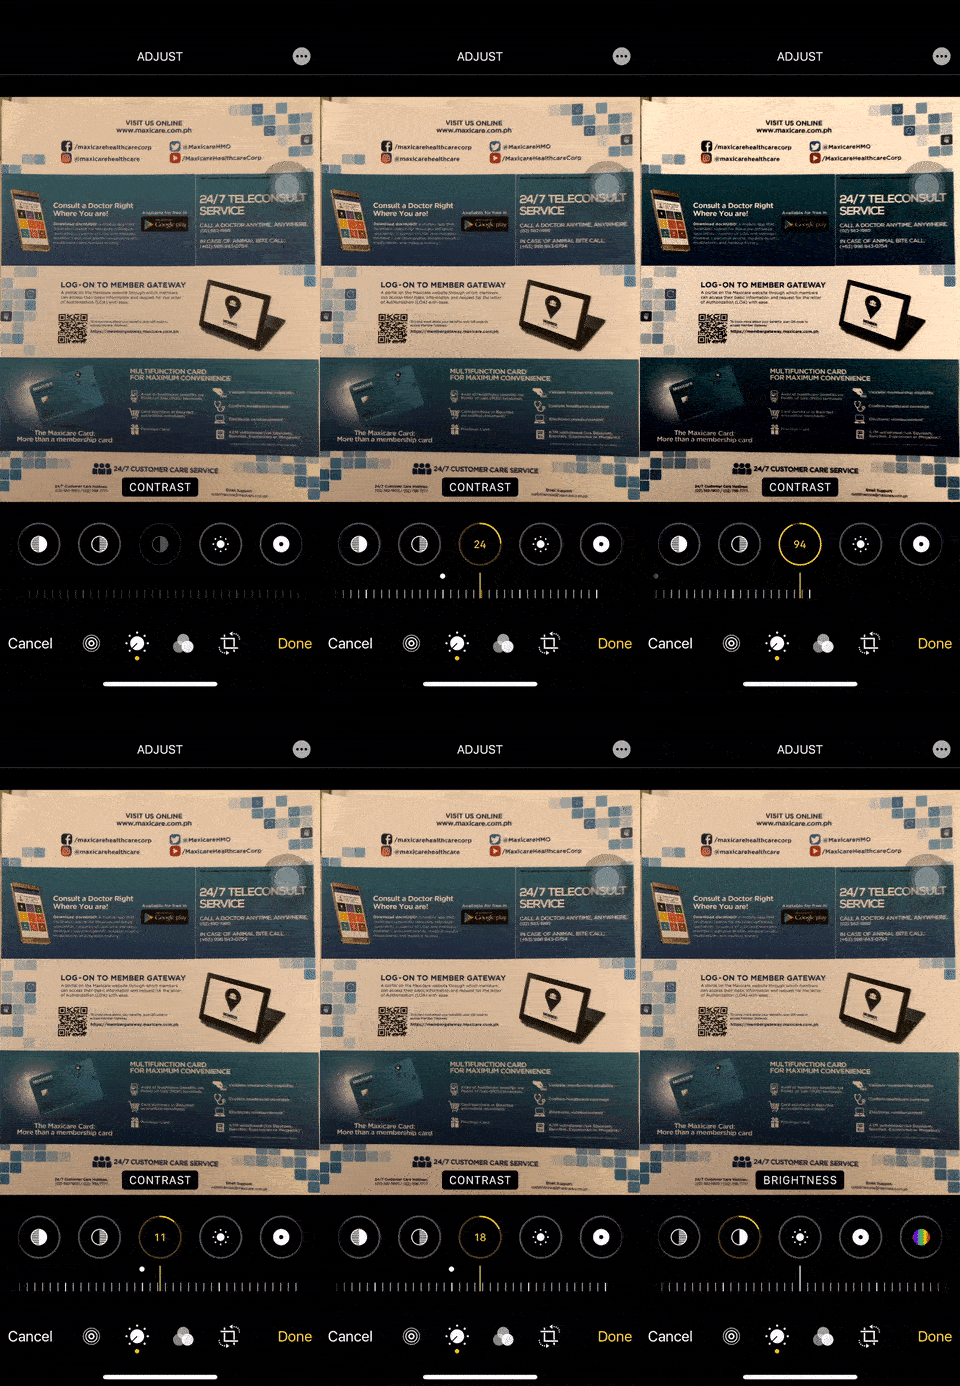
10. Editing: Brightness and Contrast

- It may well be that you were either over or under generous with your lighting, If that’s so, just tweak things slightly until it’s up to your standards.

Brightness And Contrast Gif 2